 |
Frequently Asked Questions and User Guide
|
|
Frequently Asked Questions and User Guide
|
The BALTRAD system communicates with other nodes securely, and the web-based user interface is also secure - sensitive data is encrypted before sending from the browser to server by means of HTTPS protocol. When the node is installed, security mechanisms are established that are fundamental for maintaining safe operations. This chapter is devited to explaining how it works and what steps you need to take.
We use private and public Digital Signature Algorithm (DSA) keys to ensure secure communications. These keys are generated and managed by Google's keyCzar package, which suits us well because it has both Java and Python APIs that work almost identically.
The messages that are exchanged between nodes are multipart messages (MIME) including a timestamp and a signature that are used to sign each message. The signing of the message is the mechanism that is used to verify that the each incoming message is sent from a trusted peer. Each node must have its own private and public keys. The public key is made available to other nodes, where it is used to validate inbound messages from its node of origin. Logging on to another node is not possible until the two nodes have exchanged public keys. Subscribing to data is not allowed until public keys have been exchanged and peer users have connected to the other node manually for the first time. This mechanism is designed to prevent a node from being spammed with messages from unknown sources.
There are different user types in the system, each with its own privilages. These are presented below in Users types, their roles and privileges.
Encryption is currently applied to communcication between local host (browser) and the server (BALTRAD node). To achieve this, HTTPS protocol is used with SSL encryption. Note that for the sake of efficiency, only the sensitive parts (usually forms with passwords and unique names) of user interface have been secured with SSL.
When the BALTRAD node is installed, a so-called keystore is created automatically in $prefix/etc/bltnode-keys. This is a directory containing sub-directories, one for each set of keys. The location of the keystore can be different when building your node, by using the –keystore=<path> argument with setup. The name of your node's keystore is given by your nodename, which you also determined when you built the system, either by letting it be the same as your hostname (default) or by setting it with the –nodename=<name> argument.
If you have installed the RAVE package for data processing on the same machine as the node, it will be configured automatically to use the same public key as the one generated for the node itself. The same holds true if you use the odim_injector data injector because it comes as part of RAVE. Otherwise, you have to generate new keys manually. See the next section.
Should you be in need of a new set of private and public keys, then you should follow the following instructions. The reason for needing new keys can be any of:
Note that, if your data injector and RAVE server are both located on the same remote machine, you can use the same keys to authenticate with the node.
The key generation process is given in the following steps, using keyCzar's Python package. Using the Java package is pretty much the same.
$ python -m keyczar.keyczart create \
    --location=/path/to/your/key \
    --purpose=sign \
    --name=keyname \
    --asymmetric=dsa
$ python -m keyczar.keyczart addkey \
    --location=/path/to/your/key \
    --status=primary
$ python -m keyczar.keyczart pubkey \
    --location=/path/to/your/key \
    --destination=/path/to/your/key.pub
The public key should then be placed where the BALTRAD node was installed, the default place being $prefix/etc/bltnode-keys/$DEX_NODENAME.pub.Remember to keep your private key (at /path/to/your/key) secret and safe!
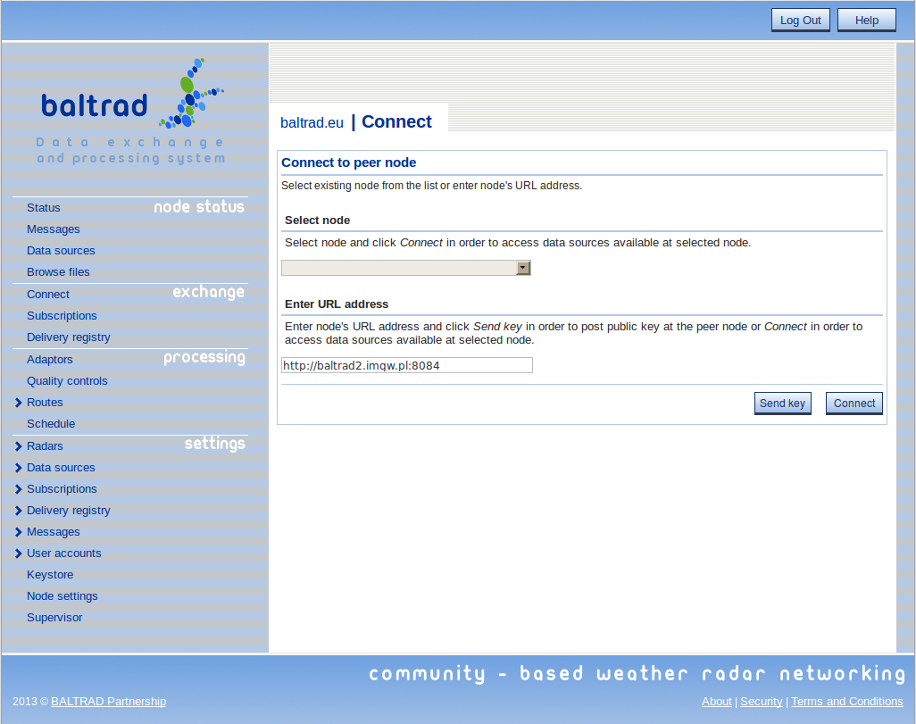
In order to connect to another node, and subsequently subscribe to data from it, you must exchange public keys with that node. To achieve this, select "Connect" option from main menu's "Exchange" section. Type in peer node's URL address in "Enter URL address section". Remember to provide fully qualified address including port number as in the example screenshot below.
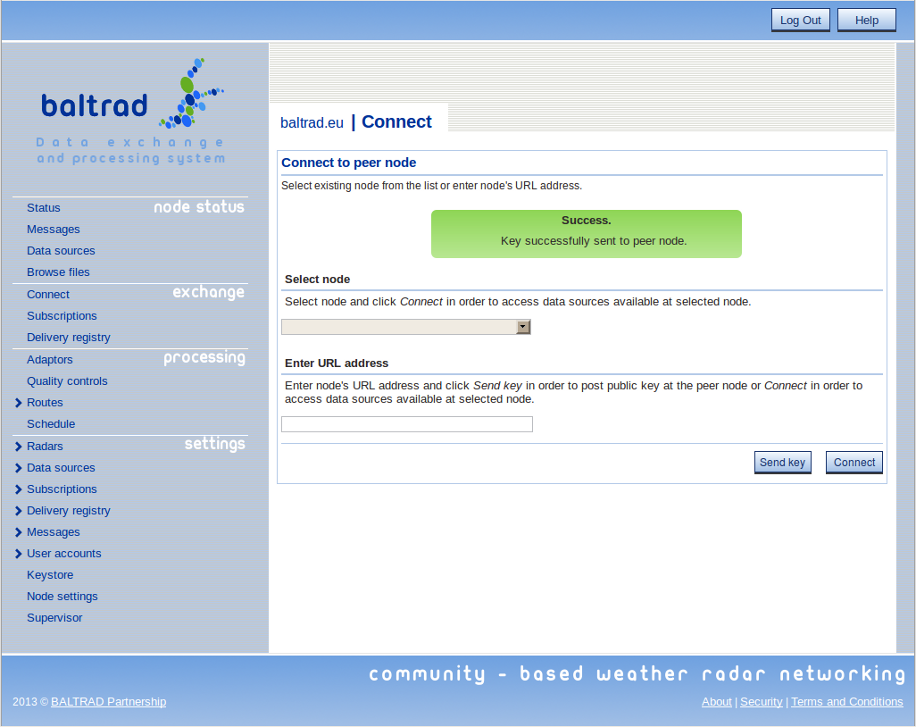
Next, send your public key to the peer node by clicking "Send key" button. Assuming that peer node has successfully received the key, you will see the following message box:
Now, the recipient has to approve the key in order to allow its peer to make connections to their node. It is done by selecting "Keystore" option from the "Settings" section in the main menu. The option allows to access the keystore and to grant or revoke access for the selected keys, as shown in the image below.
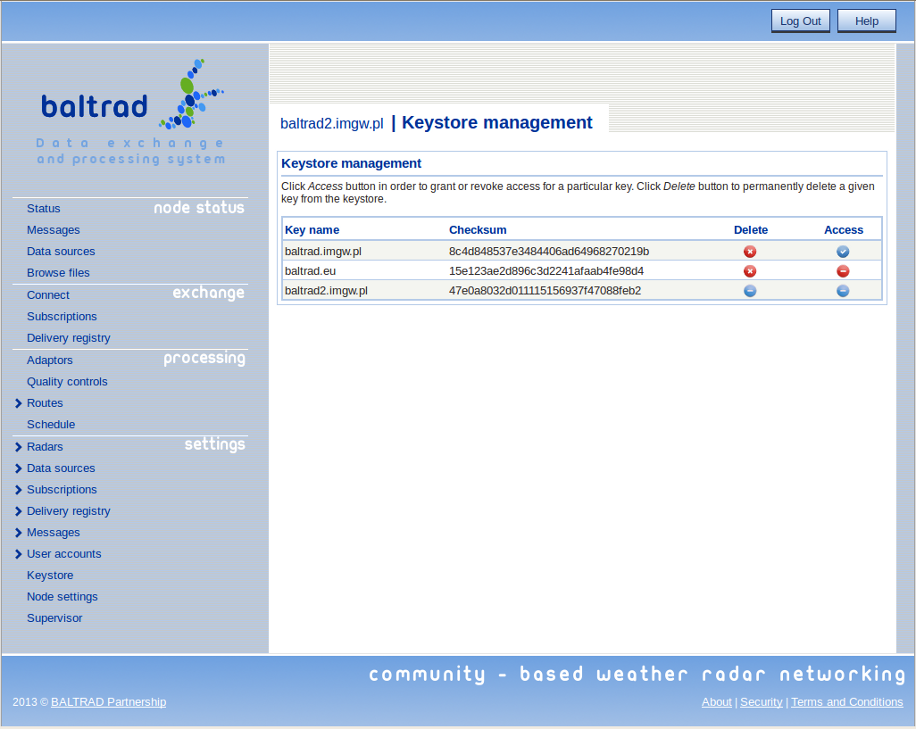
Note that the keys are named after the submitting nodes for clarity. In order to grant access for the key "baltrad.eu", click red icon located in the "Access" column next to it. Once clicked, the icon will turn blue and baltrad.eu will be able to connect to local node. In order to revoke access, click the blue icon in "Access" column. Use "Delete" buttons in order to permanently remove the key.
This section is not related to those above. There are different types of users in BALTRAD. You can have several different users of the same type, and each type of user has a different role that is defined by access rights to different functionalities.
| Type | Description |
|---|---|
| admin | Administrator with full access to system controls. |
| operator | Allowed to browse data, display data previews, inspect system log, connect to peer nodes, subscribe to data, update or modify existing exchange status by starting or canceling subscriptions, inspect data delivery registry. May not alter system configuration in "Settings". |
| user | Grants access to basic system features only. This includes data browsing, data preview, and system log inspection. |
| peer | This role is reserved for data exchange only. A peer accounts cannot be created locally, it is established automatically upon first successful connection from a remote node. |
| node | This role is not available for user accounts, although it is used in communication between the nodes. The "node" account is established during installation. The user account with role "node" always takes its name from the node itself. |
This is the first step towards being able to exchange data. Once two nodes have exchanged public keys (see above), they will be allowed to connect to each other for the first time.
In the web-based user interface, from the exchange section of the main menu, select "Connect" item. In the "Enter URL address" field, type the complete URI to the remote node, e.g. http://balthazar.smhi.se:8080 and then press the "Connect" button.
This authentication-by-connection must have been done by both nodes before either of the nodes can subscribe to any data!
You should be greeted by a simple page confirming that you have succeeded, as shown below.
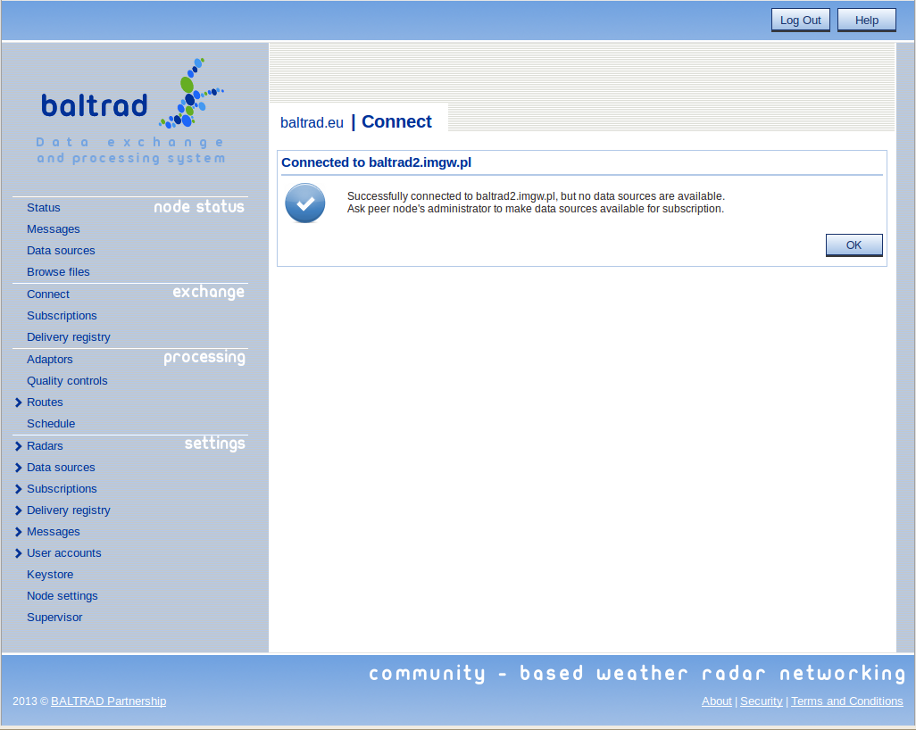
The next step is for the remote admin to enable you to subscribe to the data sources on that node: This was described in Add one or several data sources. The only difference is that the remote node's admin will "Edit" an existing data source by adding your peer user to it, if this data source doesn't already exist. Remember, don't subscribe to anything until both sides have connected.
Note that there are no other steps required to create a peer user on the remote node. When your node connected to the remote one, this peer user was created automatically following successful authentication. It's name on the remote node is the same as the name of its DSA keys, e.g. se.smhi.balthazar. This user will be added to the user list when going to the "Settings" --> "User accounts" management page.
 1.9.1 for